
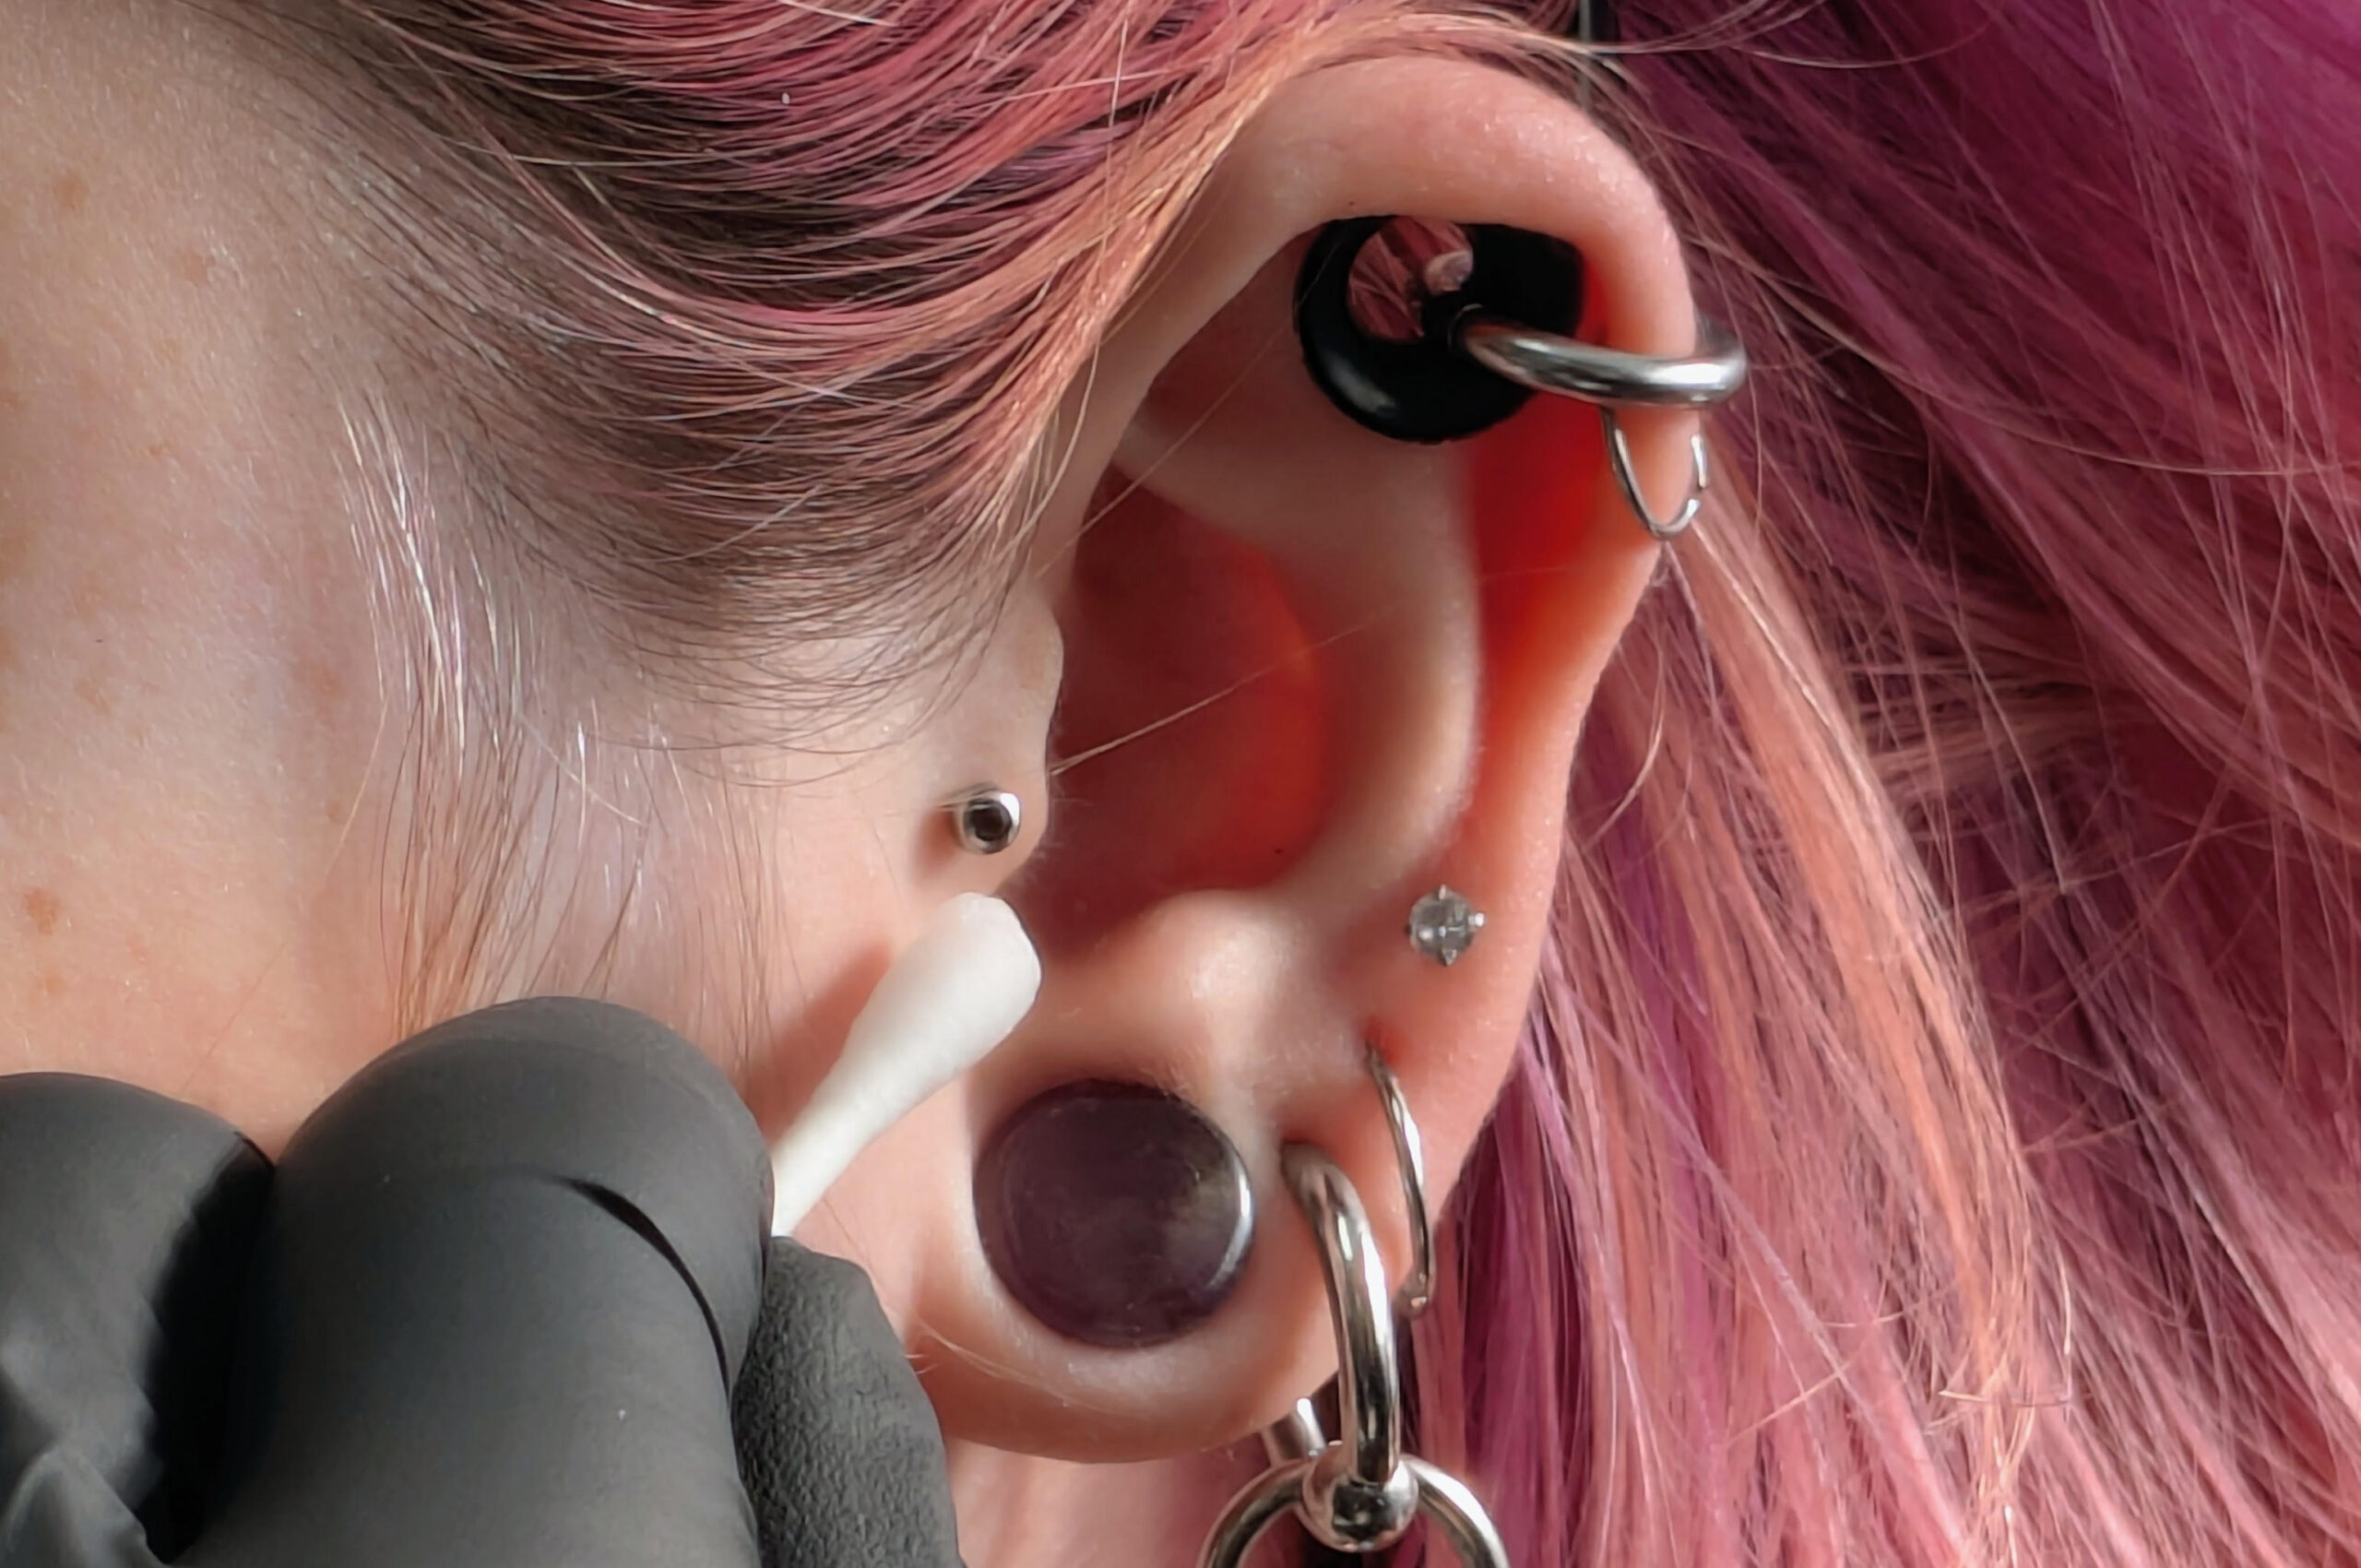
Wondering why your piercing still looks crusty weeks later? Let’s break down aftercare the way professional piercers actually do it.
Piercing aftercare in London, Ontario — this guide from a professional piercer will help you heal safely and confidently.
When you get pierced, your body forms a protective tunnel of skin called a fistula. The surface may look healed after a few weeks, but the tissue underneath can take months to fully stabilize. That’s why consistent aftercare is key — it supports healthy healing, reduces irritation, and helps prevent bumps, migration, or infection.
Whether you’re freshly pierced or planning your next one, here’s what to expect, how long to care for your piercing, and when it’s safe to change your jewelry.
Healing Time & Care Timeline
| Initial Phase | 0–2 weeks | Clean gently twice daily with sterile saline. Avoid touching or rotating jewelry. Some redness and swelling are normal. | Do not change jewelry. Allow swelling to settle first. |
| Active Healing | 2–8 weeks | Keep cleaning, avoid pressure or sleeping on it. Monitor for irritation or crust buildup. | Some piercings (like lobes) may be ready to downsize after 4–6 weeks if swelling has reduced. |
| Internal Healing | 2–6 months | The fistula continues forming. It may look healed, but the inside is still fragile. | Wait until your piercer confirms it’s safe before changing or removing jewelry. |
| Full Maturation | 6 months–1 year+ | The piercing becomes stable and less sensitive. | You can change jewelry more freely — always use clean, high-quality materials. |
💡 Pro Tip: Continue cleaning daily for the entire healing period. Even if it feels healed, consistency prevents irritation and buildup.
Understanding How Piercings Heal
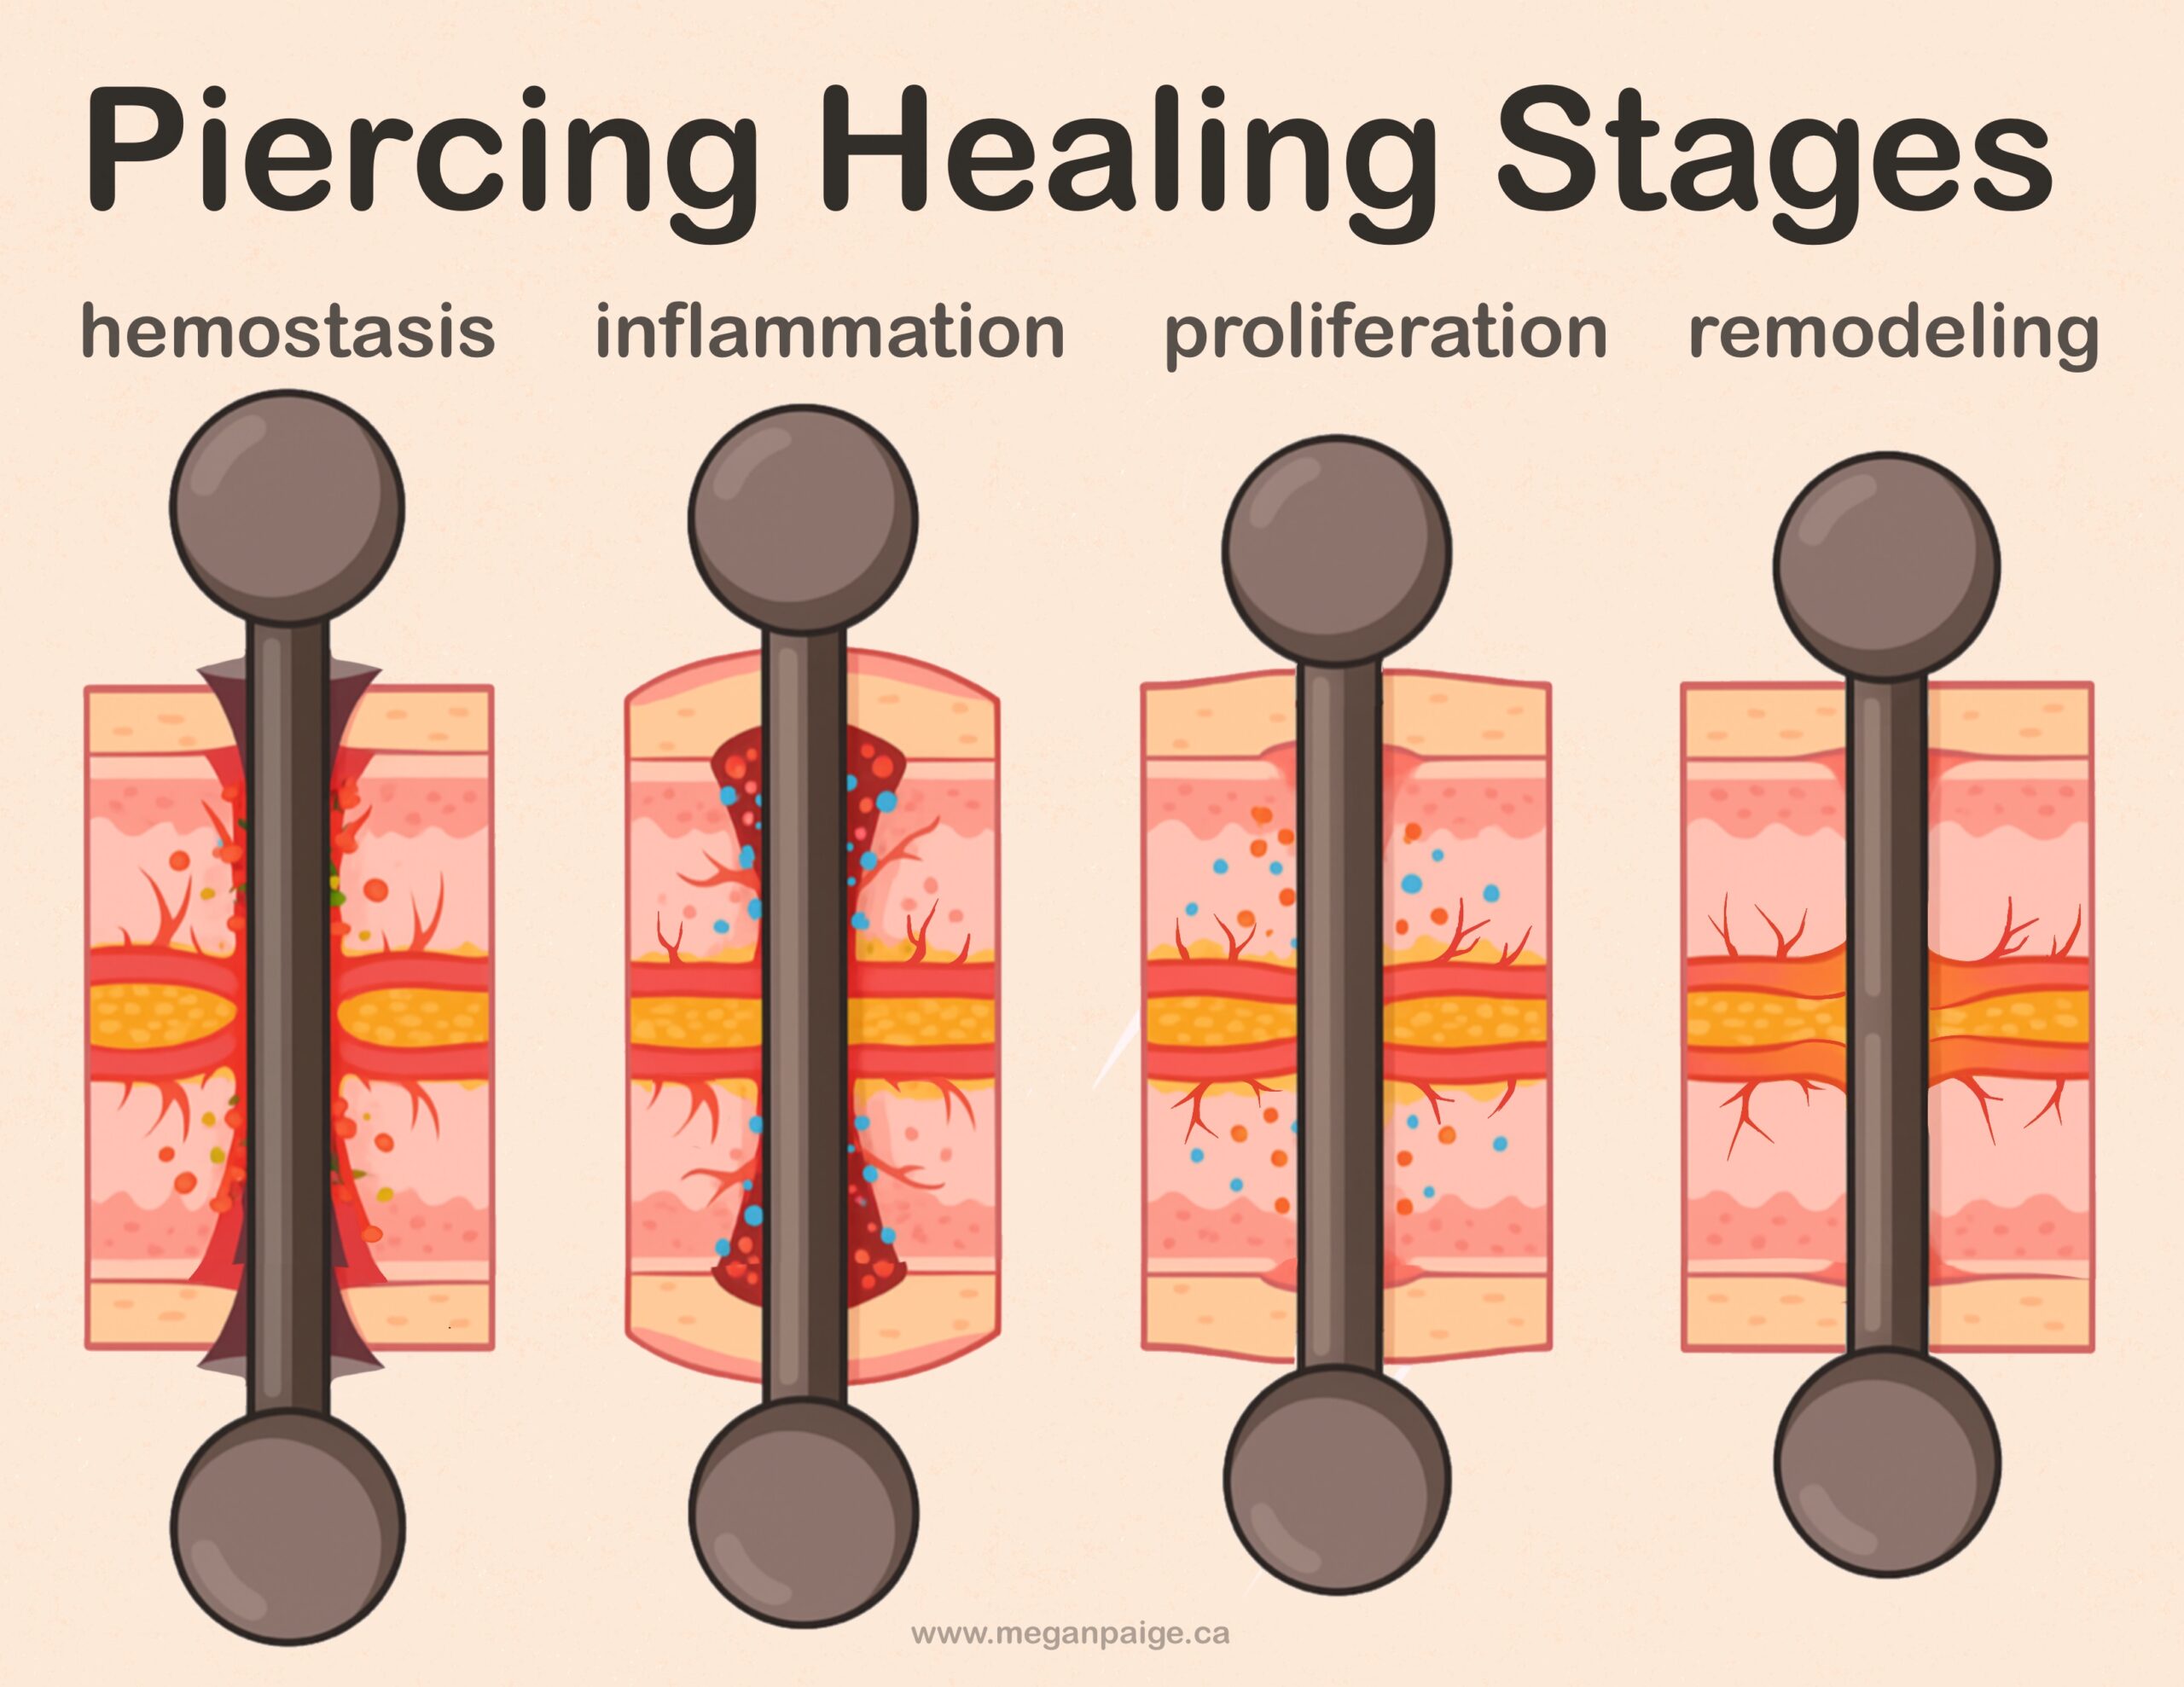
Piercings heal from the “outside in” meaning that while the exterior may appear healed, the tissue inside is still fragile and developing. Knowing the healing stages helps you care for your piercing correctly.
Hemostasis (Immediately After Piercing)
What it is: The body begins to stop bleeding and seal the wound around the jewelry.
What to expect: Brief bleeding, clotting, and a thin scab may form.
How long it lasts: A few minutes to hours.
Inflammatory Phase (Days to Weeks)
What it is: The body’s immediate reaction to the piercing. Your immune system begins protecting the area.
What to expect: Mild pain, redness, swelling, and minor bleeding are normal signs.
How long it lasts: Typically a few days to a couple of weeks, depending on the piercing location and individual healing rate.
Regeneration / Proliferative Phase (Weeks to Months)
What it is: New skin and connective tissue start forming around the jewelry, creating the healing tunnel.
What to expect: Redness and swelling gradually decrease, but sensitivity remains. You may notice whitish or yellowish “crusties” of lymph fluid, which is a normal part of healing.
How long it lasts: Several weeks to months. Cartilage piercings often take longer than soft tissue piercings.
Maturation / Remodeling Phase (Months to Years)
What it is: Deep tissues of the fistula continue strengthening and maturing.
What to expect: Piercings become less sensitive and more resilient. The exterior may look fully healed, but internal tissue is still delicate.
How long it lasts: Often 6 months to over a year, especially for cartilage or complex piercings. Avoid twisting, turning, or prematurely changing jewelry. Movement can disrupt tissue growth, delaying healing and causing bumps, irritation, or migration.
Essential Piercing Aftercare Tips – London Ontario Piercing Care Guide
How to Clean Your Piercing
Cleaning keeps the area free from bacteria and supports healthy tissue growth.
What to Use:
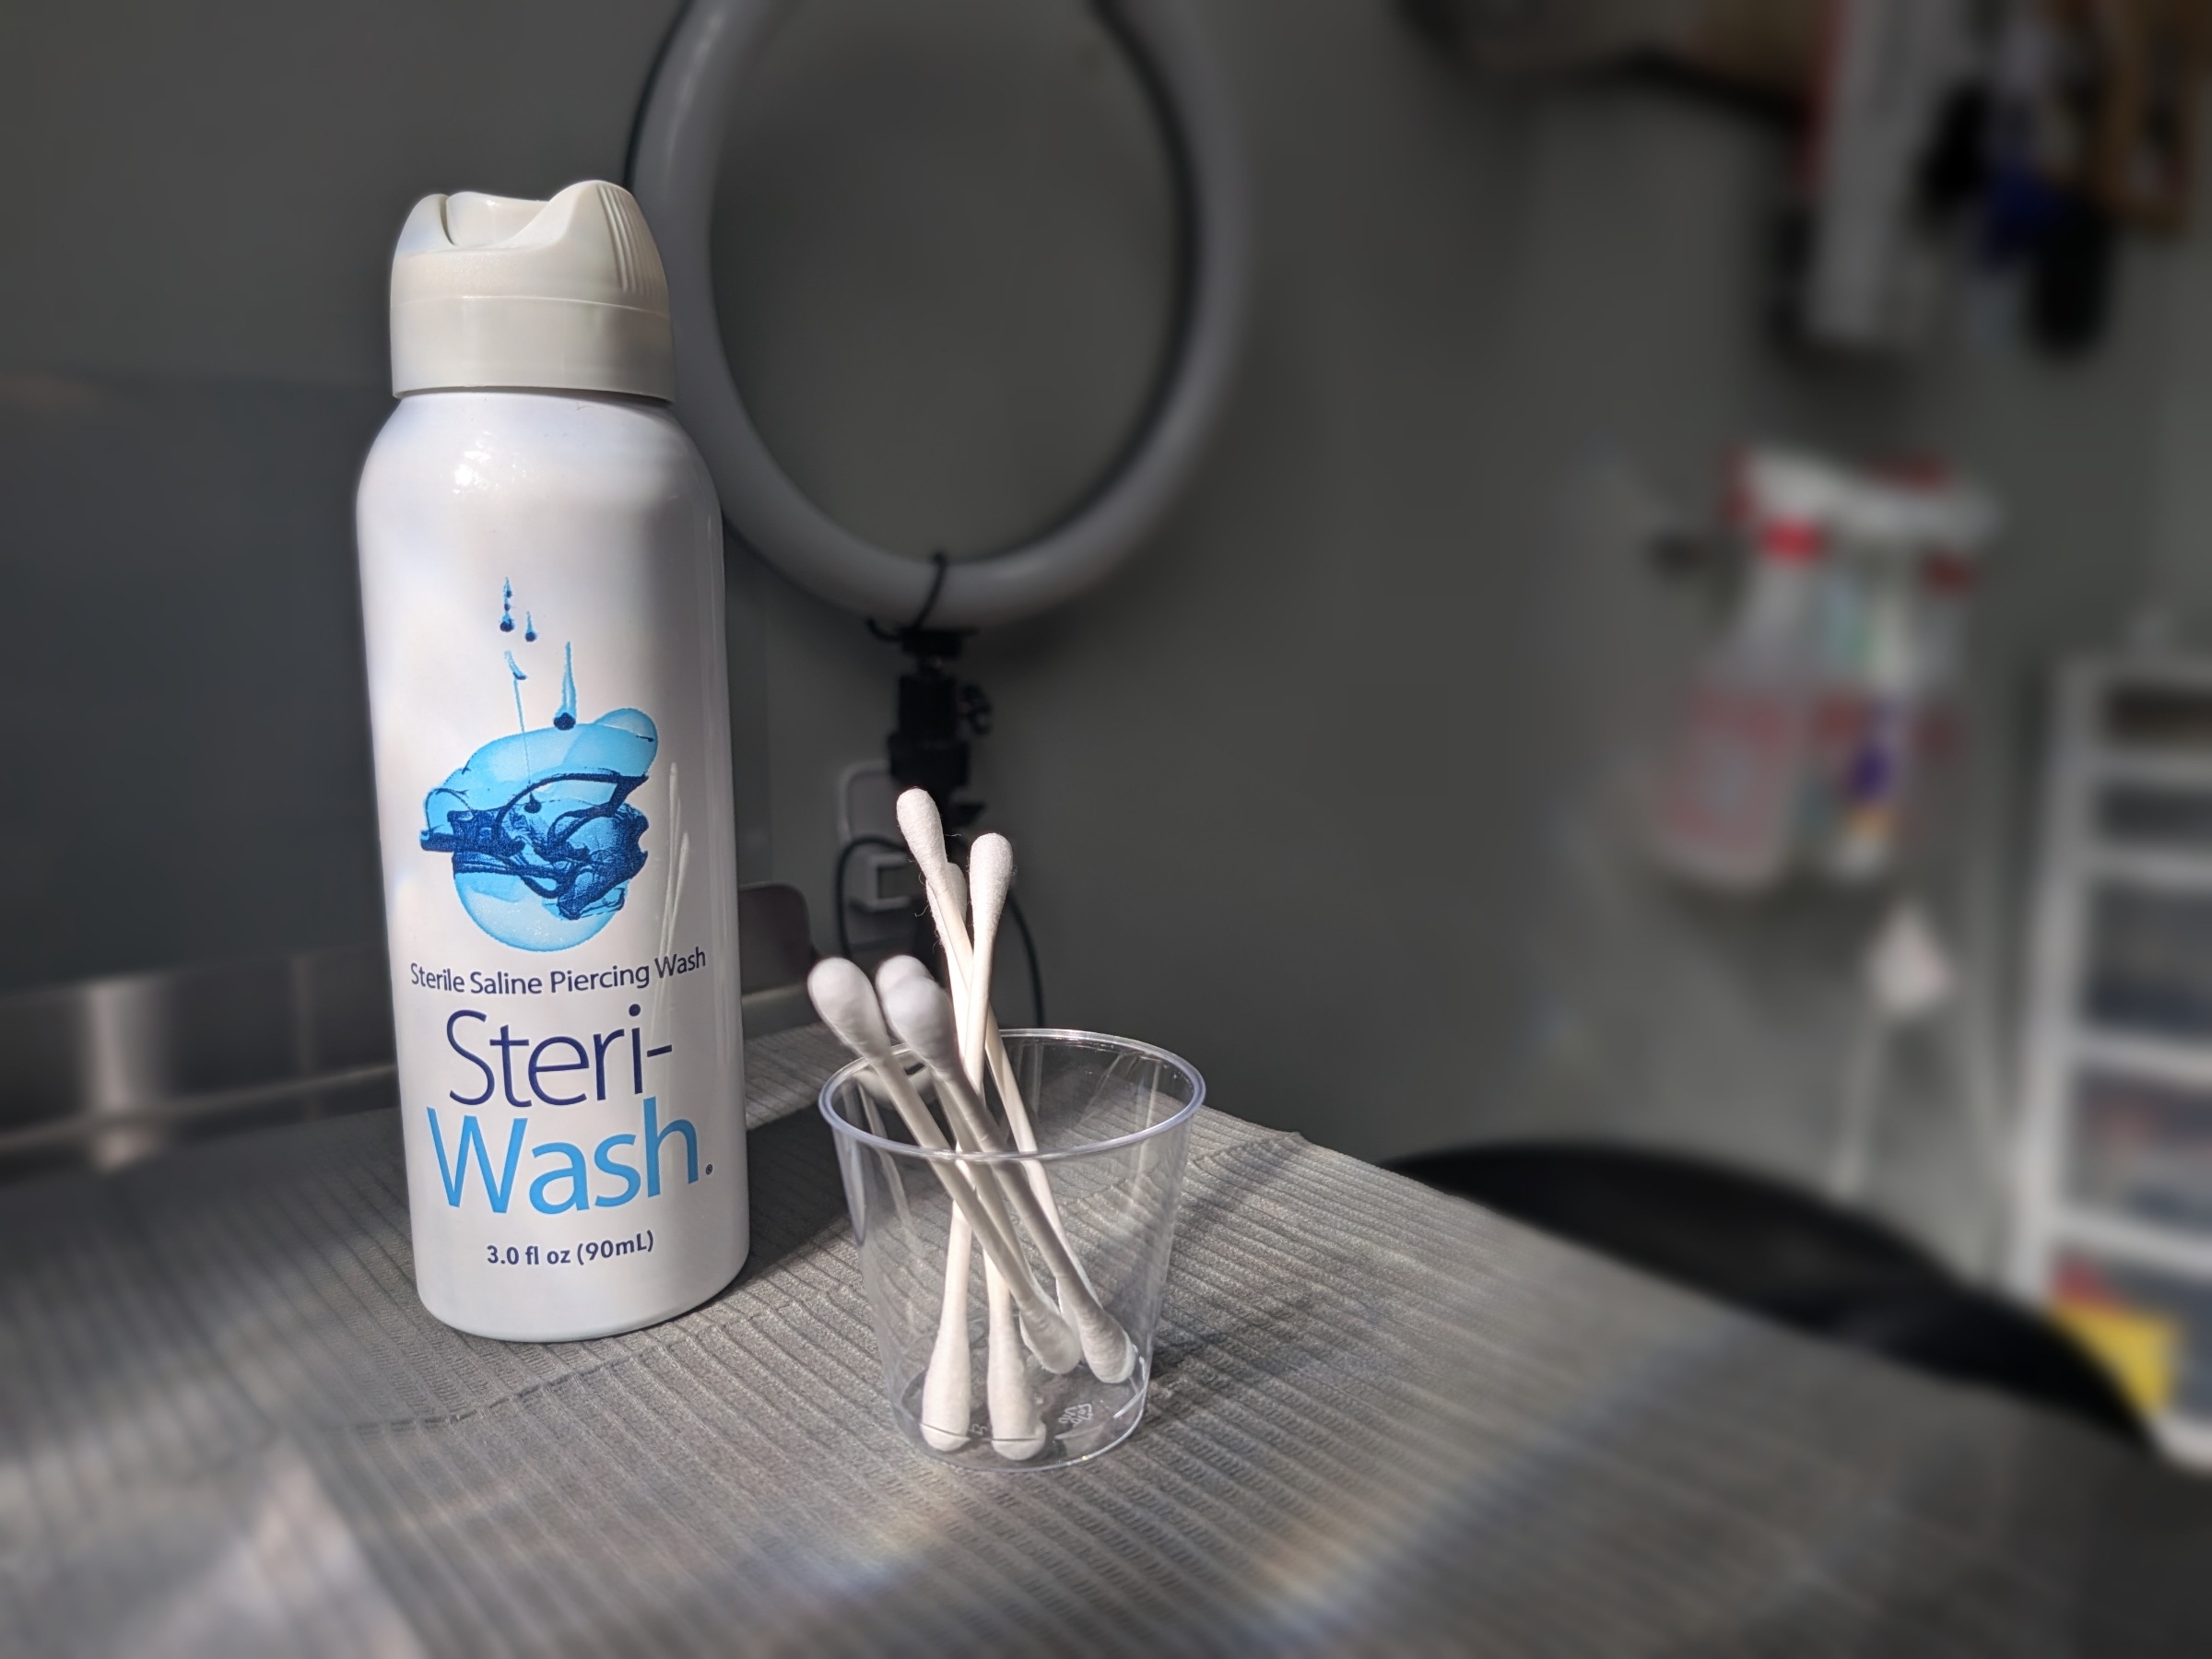
- Sterile saline solution or wound wash
- Mild, fragrance-free liquid soap (rinse thoroughly)
- 🚫Avoid harsh chemicals like alcohol, hydrogen peroxide, or ointments — these dry out tissue and delay healing.
How to Clean (Step by Step):
- Wash your hands thoroughly before touching your piercing.
- Gently rinse the area with warm water to soften any crusties.
- Apply saline using a sterile Q-tip, gauze, or saline spray and let it soak for 30–60 seconds.
- Gently wipe away any softened buildup — don’t twist or rotate jewelry.
- Pat dry with clean, disposable paper towel or gauze.
Clean twice daily (morning and night), and an additional time after exercise, sweating, or exposure to dirt.
Downsizing & Jewelry Changes
Once swelling decreases — usually around 4–6 weeks — your piercer may recommend downsizing to a shorter post or bar. Properly fitted jewelry prevents irritation, snagging, and pressure.
At Neon Tattoos & Piercings, we offer free jewelry changes and assistance for the first year for any piercing done in our studio. Always have a professional handle your jewelry change to protect your healing tissue.
Return to your piercer if you notice:
- Jewelry pressing into the skin
- Persistent redness or swelling
- Itching, rash, or irritation
- Frequent snagging or irritation
- Signs of infection (heat, yellow/green discharge)
Common Piercing Issues
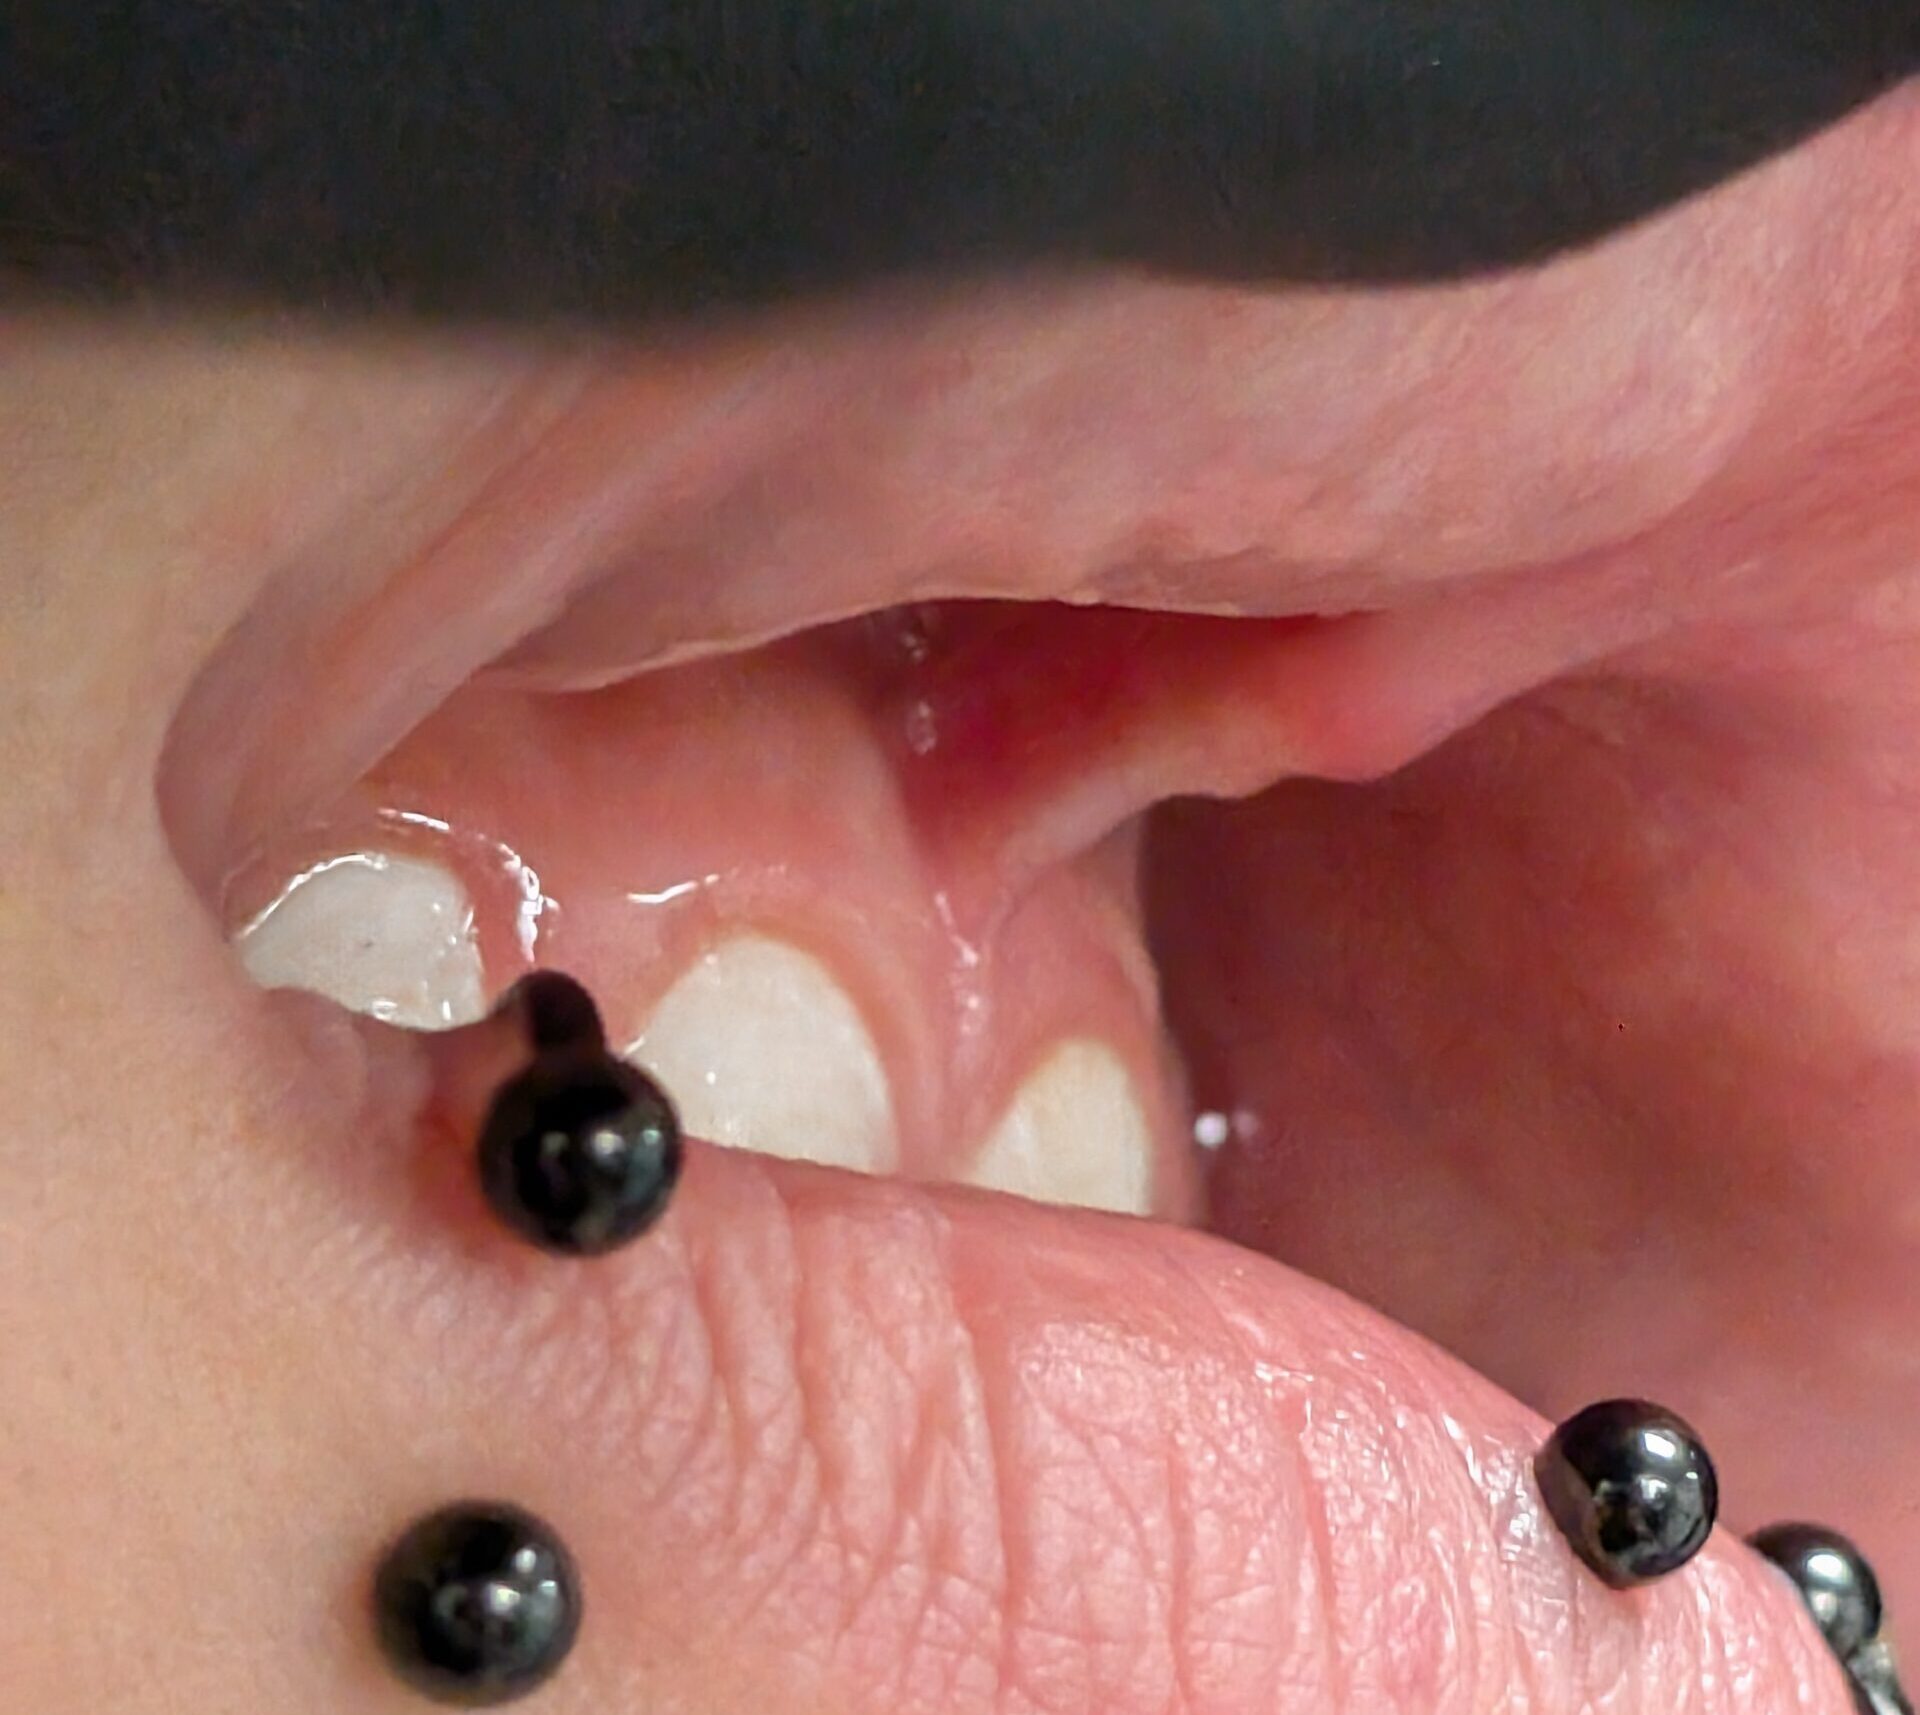
Even with proper care, some common issues may arise:
- Bead or jewelry falls out: Clean the area gently with saline or mild soap. Soak the jewelry in 70% rubbing alcohol for 10 minutes before reinserting. If it feels painful or tight, don’t force it — the piercing may have started to close. Visit your piercer to have it reinserted professionally.
- Irritation bumps: Usually caused by friction, tight jewelry, or pressure. Ensure your jewelry fits properly and avoid touching or rotating it. Warm saline soaks twice daily can help calm irritation. If the bump doesn’t improve, contact your piercer for an assessment and advice.
- Crust or discharge: Clear or white discharge is normal lymph fluid that protects healing tissue. Gently clean it away after showers. For oral piercings, you may notice a white, sticky discharge — this is also normal.
- Numbness or tingling: Mild numbness can occur from swelling or nerve irritation during the piercing process. The sensation typically fades as swelling decreases. However, if numbness persists, worsens, or is accompanied by pain or discoloration, see your piercer to ensure jewelry isn’t compressing the area.
- Headaches after facial piercings: Rarely, temporary nerve irritation or tension can trigger headaches after a nose or facial piercing. These usually ease as healing progresses. Persistent pain or migraine-like symptoms should be discussed with your piercer or healthcare provider.
- Migration or rejection: Jewelry moving toward the surface or thinning skin indicates migration. Early intervention and proper jewelry can prevent permanent scarring.
- Infection: Watch for redness, heat, or yellow/green discharge. Don’t remove jewelry during infection — it can trap bacteria inside. Instead, clean gently with saline and seek professional guidance.
Placement-Specific Aftercare Advice
- Ear piercings: Keep hair tied back and away from the piercing. Avoid sleeping on new ear piercings. Avoid wet hair sitting on it for extended time. Getting a special piercing pillow can help if your a side sleeper as we don’t want to put pressure on the piercing overnight.
- Navel Piercings: Avoid tight or high-waisted clothing that presses on the area, and try not to sleep on your stomach while it’s healing — pressure can cause irritation or even rejection. Stick to loose, breathable fabrics and be mindful of bending or snagging. Clean daily with warm saline soaks, and if it gets crusty or sore, soak a little longer to loosen buildup before gently wiping it away
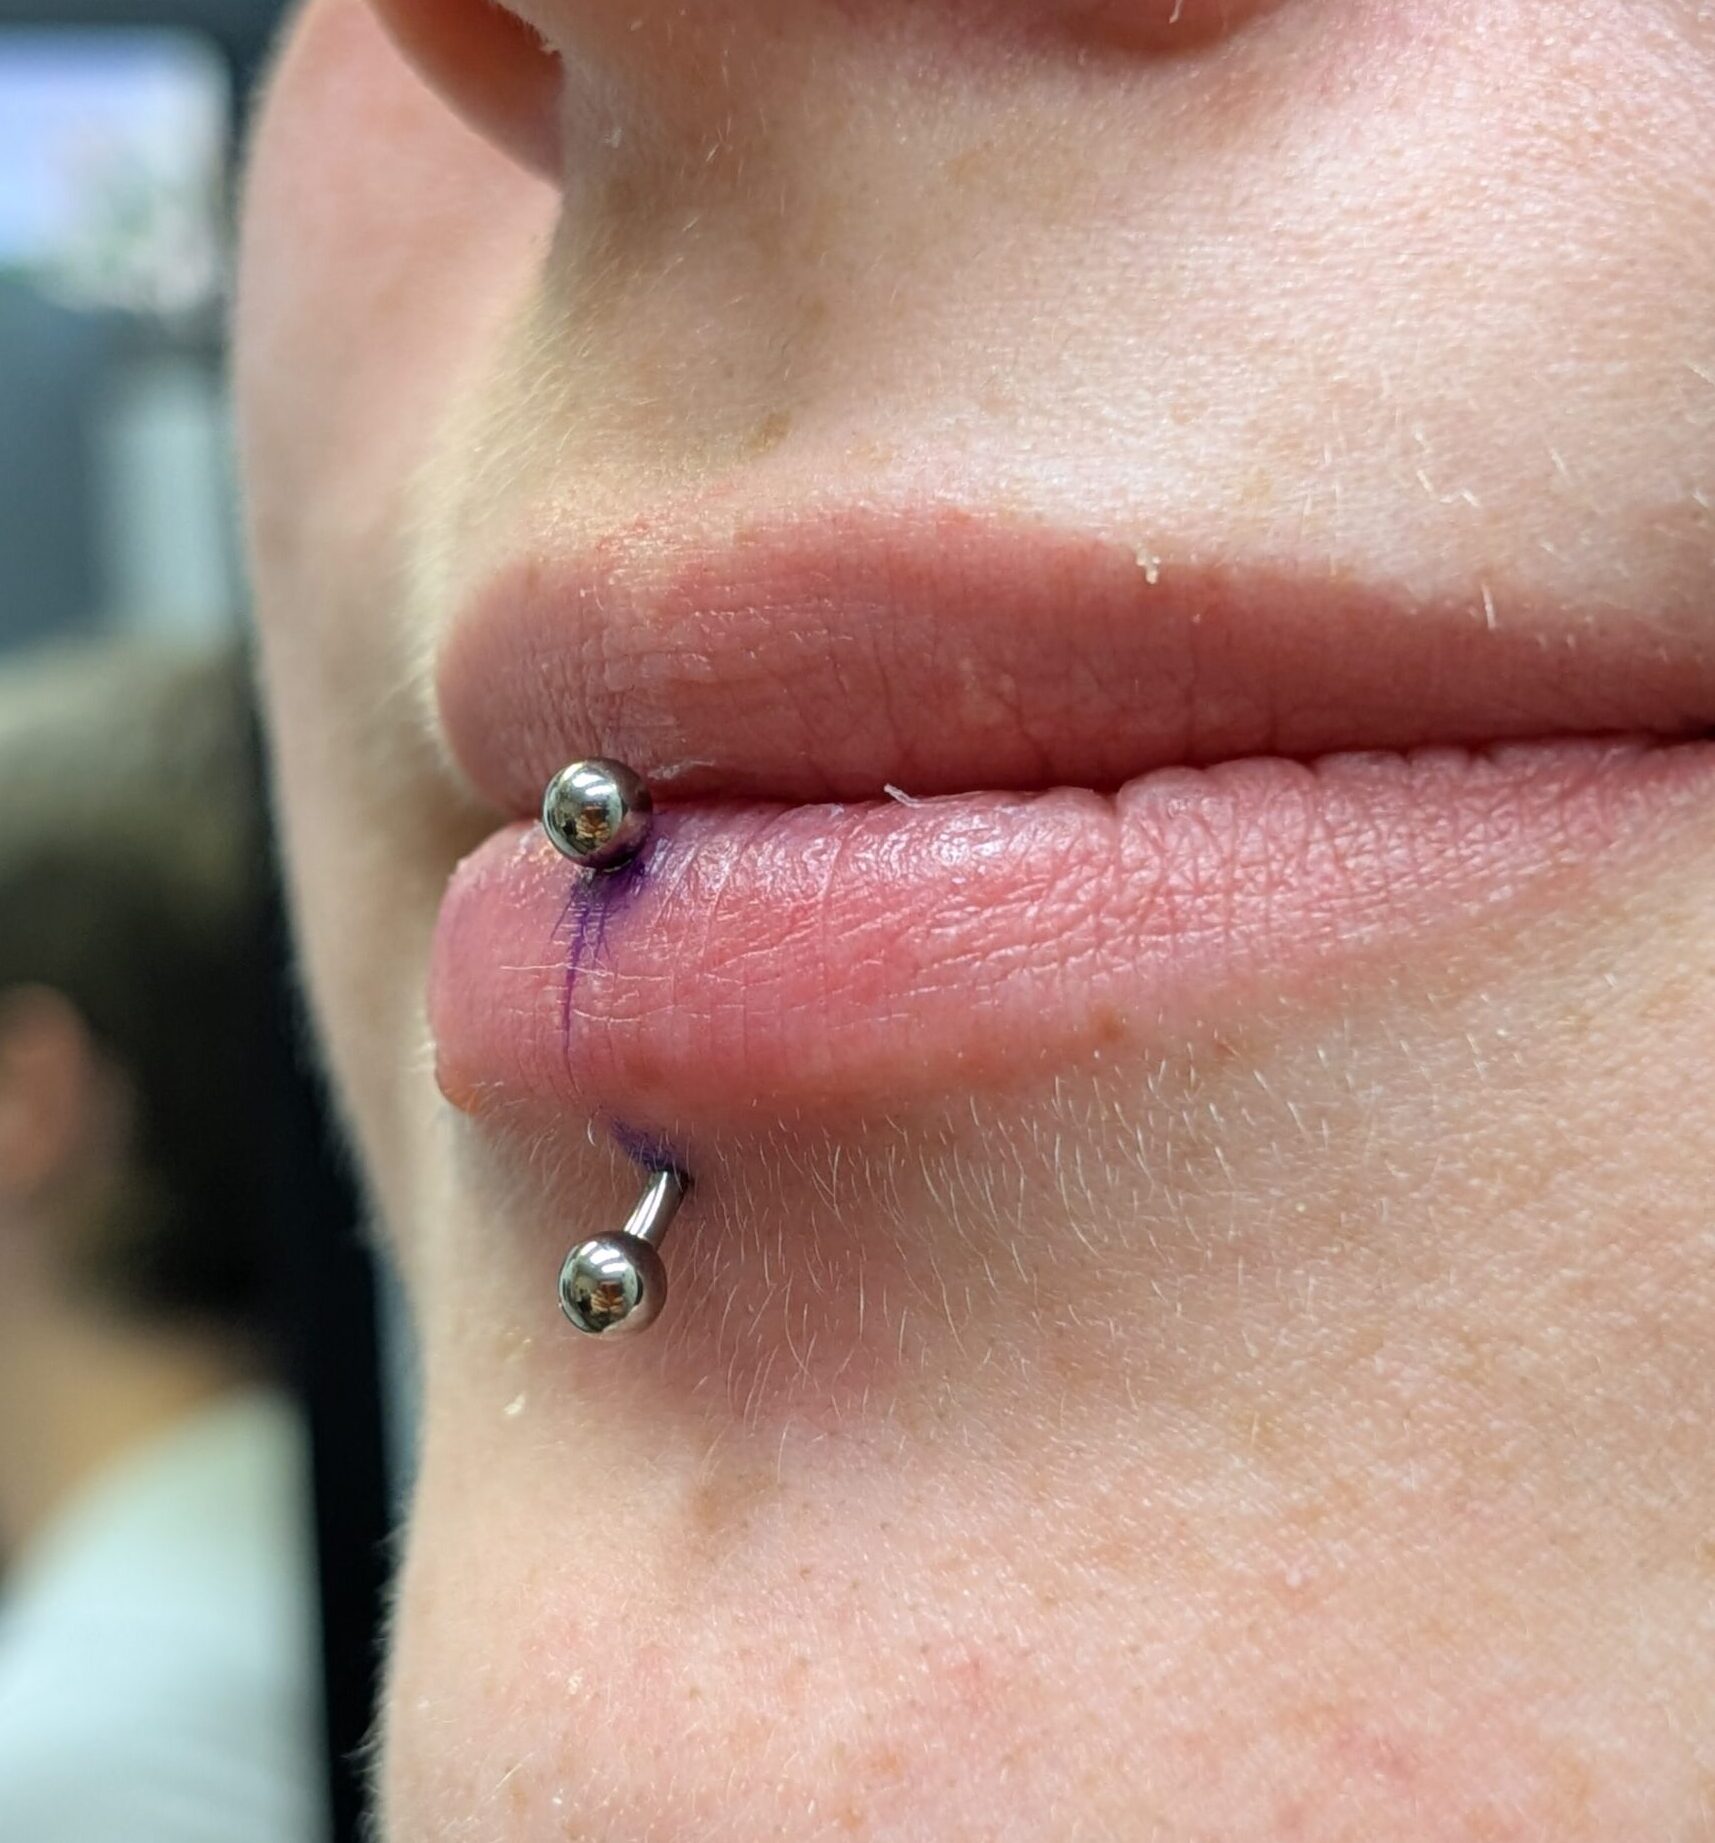
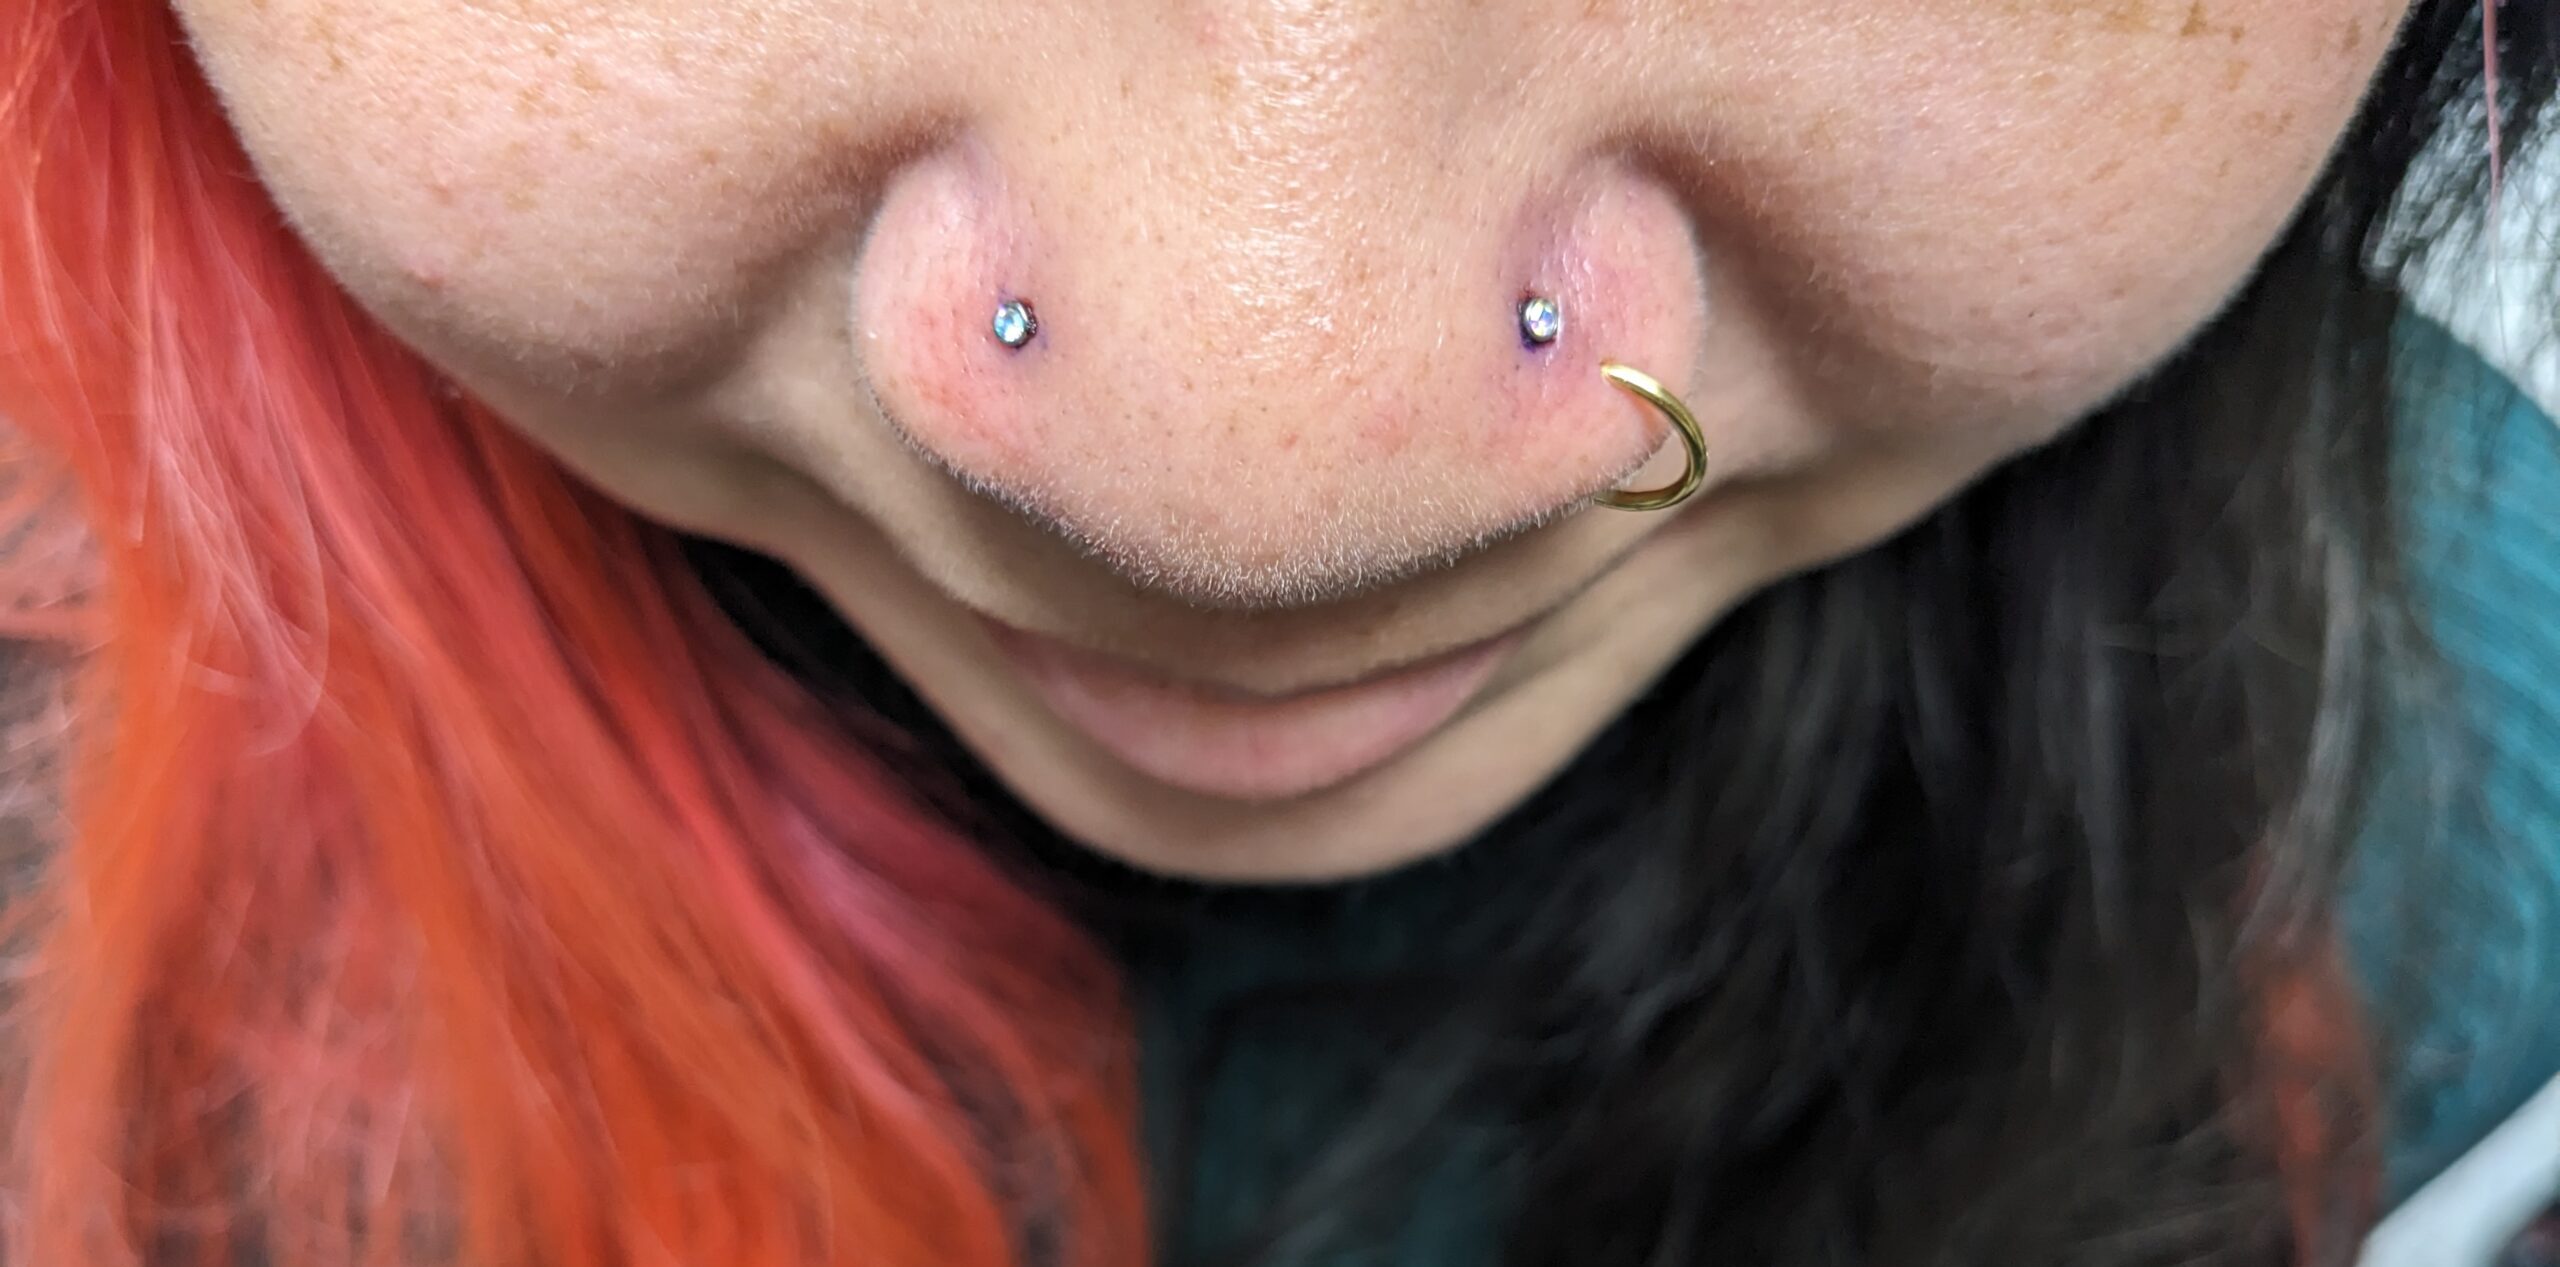
- Nose & facial piercings: Try to sleep on the opposite side to prevent bumps and migration. No makeup or foundations or lip gloss should be applied near the piercing site for the entire healing time.
- Dermal piercings: Look great almost anywhere, but placement matters — spots with lots of movement or friction have a higher risk of rejection, so the less motion the better. If one ever gets snagged or pulled, don’t panic — apply a clean bandage with light pressure to help it settle back under the skin. To clean, soak the area in warm saline for about five minutes, then gently use a Q-tip to clear away any buildup or gunk from around and under the top.
Final Thoughts on Piercing Aftercare | London Ontario
Healing a piercing takes patience and proper care. By following these guidelines, using appropriate jewelry, and consulting your piercer when needed, you can ensure a smooth recovery. Even if your piercing looks healed on the outside, the inner fistula is still forming and requires gentle care.
With free jewelry help for the first year, our professional piercers offer the best piercing aftercare London Ontario clients can trust. Feel free to reach out to us on our main website Contact Us | Neon Tattoos & Piercings or you can contact me directly through my page Contact Info – Megan Paige
Have a question I didn’t cover? Leave a comment below and I’ll do my best to answer!